Hello!
In this post I`ll show you in step by step pictures how to make this design ->
But first- the things you`ll need for this:
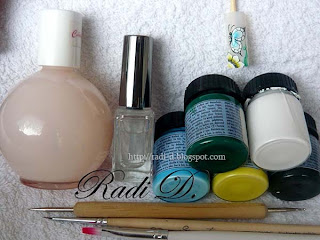
Base coat, top coat, acrylic paints (I chose to make the butterfly different colour, so the colours are: white, black, yellow, light blue, dark green), dotting tool, flat and detailed brush.
1. Apply the base coat and let it dry well.
2. Take with the two ends of the flat brush white and blue paint and twist the brush in circle over the nail to make the wing of the butterfly.
3. Make the other wing below that one the same way.
4. Outline the wings with black acrylic paint as you stretch the black lines outside to make the wings sharp.
5. Make the other black elements inside the wings.
6. Continuing with the black paint. Make the body, head, feelers and legs of the butterfly.
7. Make some tinny white lines over the butterfly`s back, head and small dots at the end of her wings over the black.
And your butterfly is ready.
8. Now for the flower. Take with both ends of the flat brush white and yellow paint and draw some petals of a flower in the one end bellow the butterfly.
9. Outline the petals with black paint and make some tinny black lines in the base of them as veins.
10. Make small white dots in the middle of the flower as stamens, and above the flower using the dotting tool.
11. In the other end bellow the butterfly make a leaf using the green paint and just twist it in the end.
12. Cover with top coat!
And that`s it! Now you know how to make this beautiful design. :) You can choose the colours for yourself. So enjoy! :)


Няма коментари:
Публикуване на коментар